Christina, over at
She's a Crafty Pumpkin, is constantly annoyed at me for not giving more detailed descriptions when I make or redo something. So, this post is mainly for her.
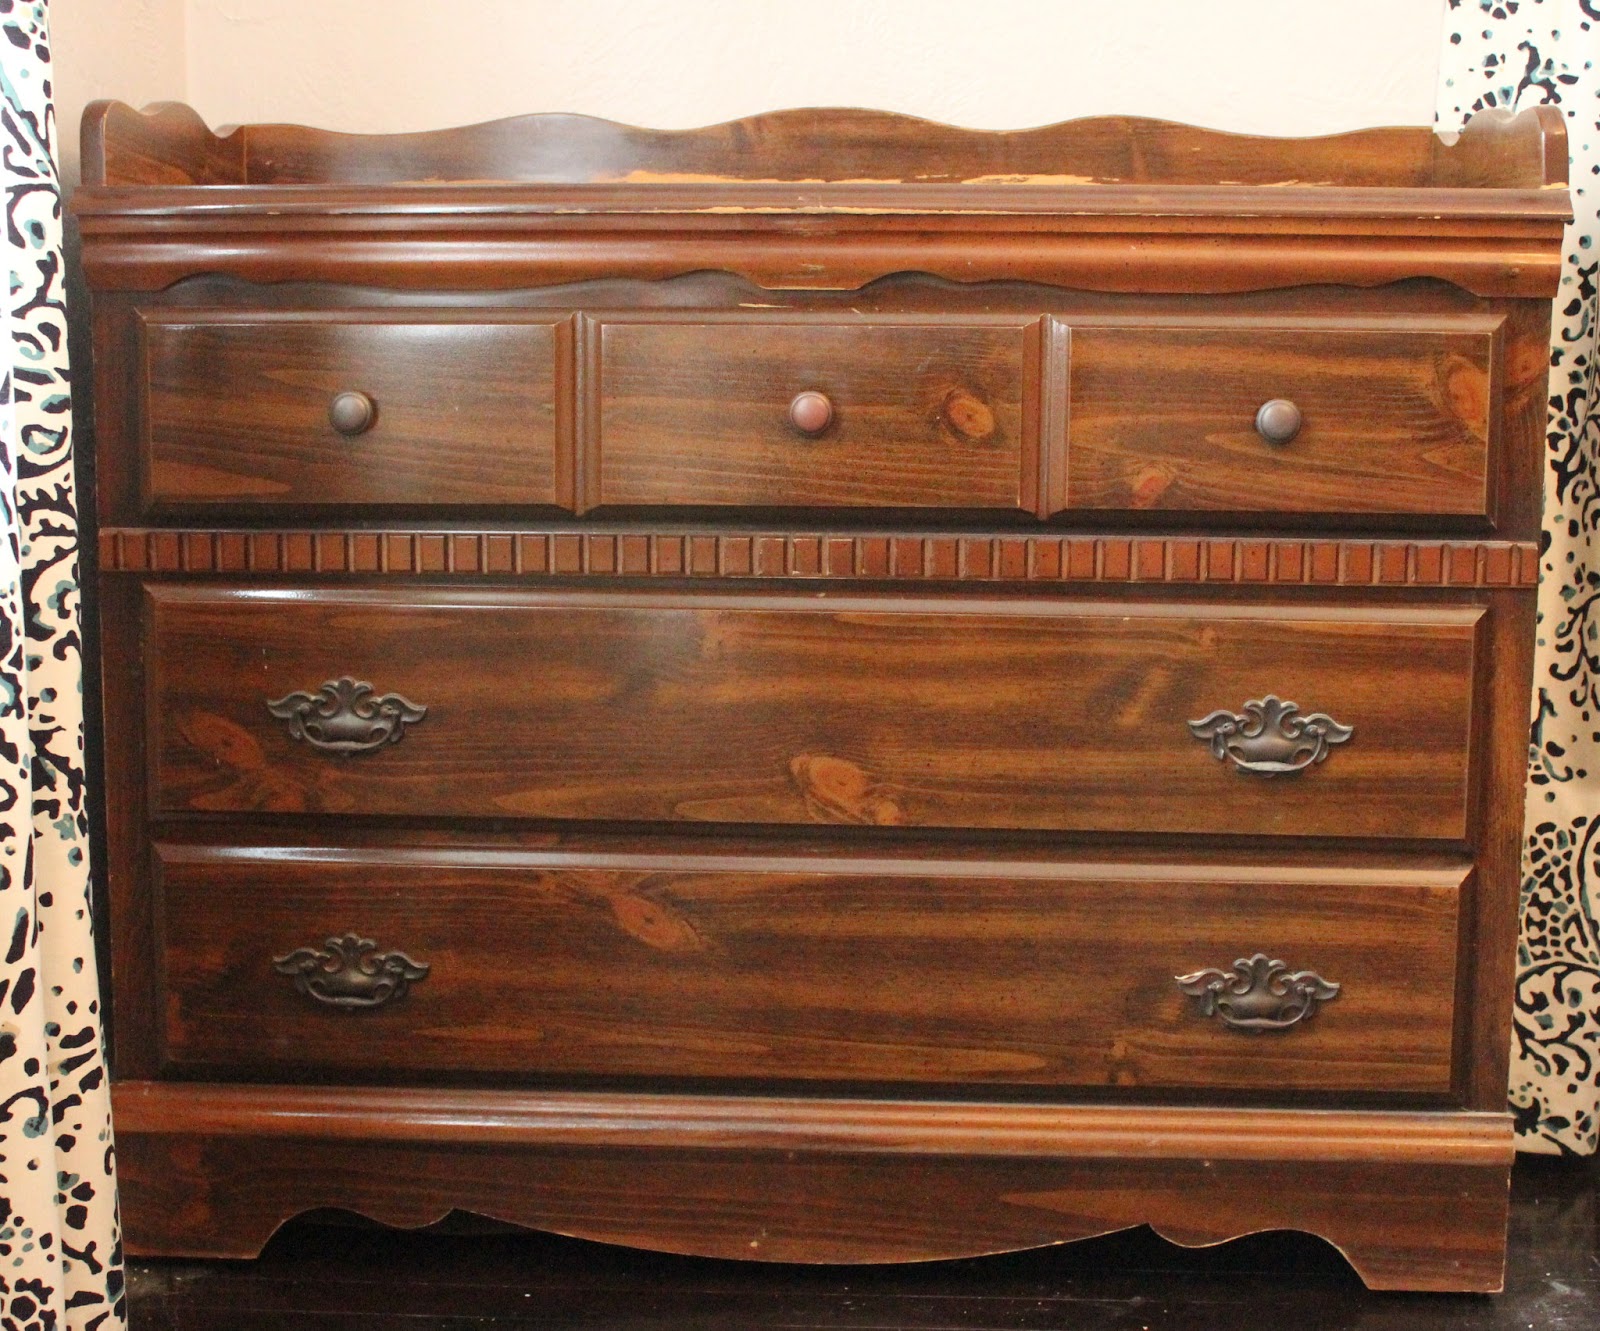
My brand spankin' new dining room needed a pop of color, so I took this...
To this...
Annnnnddddd, here's how that happened in great detail. To be honest, this 'dresser in the dining room' idea was my 'B' plan. Plan A looked much different in my head. But after several searches failed to meet my vision, including my beloved antique store, I had to come to grips that unless I was going to spend a ton of money it just wasn't going to become a reality. I'm for sure keeping Plan A in the back of my head and will ditch this dresser in a hot minute (or maybe just move it to another room), but for now, I love love love the color and the functionality.
After Bella's dance class on a Wednesday evening, we scooted on over to the local Goodwill Store. I'm gonna pop some tags...got twenty dollars in my pocket. This gem of a dresser was just sitting there waiting for us for the bargain price of $14.99. After convincing Bella to stop rubbing her face on the seat of an old couch or trying to get me to buy snow boots, we folded down the van seats and zipped on home.
While the kids did their homework on Thursday and Trey was otherwise occupied, I pried off that weird dental molding strip, all the hardware (which I broke in the process), and the top edge added on piece thing.
On Friday, I moved this project down to the basement so I could sand it. This is an important step even though I'm tempted to skip it every time. But, with this old kind of veneered shiny wood, if you skip sanding, the new paint will peel right off...kinda like when you were a kid (or last week) and would cover the palm of your hand with glue, wait for it to dry then peel it off. Fun when it's glue, sad when it's paint that you had to actually buy.
I employed the toughest sanders I live with and let them have at it. We used a heavy grit (50 & 80) to really give the finish some teeth.
After sanding, (don't forget to wipe off the dust!) I used my new favorite water putty to fill in flaws and a weird seam. While Jay played with the kids, I went to Home Depot to get the paint. When I found the color I wanted, the woman helping me suggested that I get the SAMPLE SIZE. This size only comes in a flat or egg shell finish (I chose egg shell), but is enough to do 2 coats on a piece like this. The sample size cost $3.15!!!
On Saturday, while Trey napped and the kids were playing, I sanded the dried water putty and put on a coat of primer (which I already had in the paint closet). Again, I love to skip steps for expediency's sake, but...I hate going back to fix things more. The primer guaranteed that the old, ugly black freckles on the wood wouldn't peek through.
After the kids went to bed, I did the first coat of paint. During Sunday's nap time, I did the second coat. My next problem was the hardware. I had broke every handle taking them off the dresser, plus they were dated....
On Monday, I went to The Construction Junction and found the perfect hardware for a total of $5.89. *Construction Junction accepts donated household goods and sells them for practically nothing! However, the hardware was a shiny brass, which was not what I wanted. A can of black spray paint would solve that problem.
I attached the new (old) hardware to a piece of cardboard and waited for the kids to go to bed. I have to say, spray painting is an art. An art that I am not proficient in...even less proficient at night...outside...in the dark...in 30* weather. Somehow, I always miss spots and get a little high every time. It's not my best work, but got the job done!
So, for a total of $25.00, I got my nice pop of color!
Whew! If you read this whole thing, God bless ya!


5 comments:
I'm blessed! I read it all the way through and I LOVE it. I want to see and touch it in person...
excellent tips on the sample size paint and water putty. I'm inspired and want to go paint something!!
I, too, am glad you posted with some how to detail! I have an old dresser in my kitchen that I'm using as a "buffet" type thing and it desperately needs painted. I sanded it some (right there in the kitchen...)but as soon as this weather perks up I'm going to move it out and give it a paint job using this post as my instructions! (This dresser was sitting in our sun porch, left behind by the people who lived here before and Derek's first wife moved it into my kitchen so I could utilize it for a family get together at Christmas.) A paint job might take it to a more permanent fixture!
Love the color you chose and the inclusion of some "Thrift Shop" lyrics. LOL.
This looks so awesome!!! I'm so impressed- you sound like a true professional!
I love it! You've inspired me to tackle the coffee table that's been sitting on my front porch for 2 years. I need to sand that puppy and paint it, but felt like the task was too much.
d7sife7a9
Feel free to visit my web-site - electric toothbrushes
Post a Comment