Monday, December 19, 2011

A For Real Easy and Cute Tutorial

I finally found a craft that meets a need for me, the kids can help, it's not expensive and does not take a long time.  Whew!  I have a hard time throwing things away...even broken, seemingly unusable things.  Take crayons, for instance.  We have approximately 4 million and 12 crayons in this house.  I keep shoe boxes full of crayons in our craft closet, a stash in my purse and a stash in my "to go" activity bag.  This might be too many crayons.  Plus, throughout this past year, people generously sent things in the mail for the kids and the number one thing they received?  Coloring books and.....yep, more crayons!  So, here's my cute (Not new by any means!  Have you looked on Pinterest lately?) way to reuse/re purpose old crayons.....
The kids helped by peeling the paper off the selected crayons. 
This didn't even make a significant dent in our crayon collection!  Bella helped by picking out the colors I asked for.  I used an old cutting board and old knife to chop the crayons into little pieces.

I love rainbow order.  This is a silicone tray that I purchased at Jo Ann's.  It's the only thing I spent money on for this project and with a coupon, it was around $6.  I didn't want to overfill the cups, but after baking them, I could have put even more crayon bits in each section.
See how there's room at the top of each cup?  These still turned out perfectly, though.  I put them in the oven at 290* for 15 minutes.  I put a regular cookie sheet under the silicone tray for stability.  Spilling melted wax on myself was not high on my "to do" list.  After taking them out of the oven, I actually put the tray outside for a while to cool.  One tutorial I read said to put the tray in the freezer, but Jay (again, more practical than I) thought that putting something so hot in the freezer would not be good for the rest of the frozen food in there.  Once they were cool, I just gently pulled the edges of the tray a little and the gingerbread dudes came right out.

Bella and Joe are excited to give these to their teachers and to be able to say that they helped make them.  Cute, right? p.s. Once you've used the tray to melt crayons, you shouldn't use it for actual food products anymore...just sayin'.

Wednesday, December 14, 2011

I Got a New Toy!!!

I know I haven't blogged too much recently...but I have my reasons.  My newest reason is that I got a new camera!  I'm so excited! I have no idea how it works or what all the functions are, but by golly!  I 'm gonna learn!  I have a few post ideas brewing in my head, so stay tuned, I'll get there.  In the mean time, here's a few of my 'test shots'....


Friday, November 25, 2011

Bella's Beautiful Bedroom

Whew!  It's been a busy time around here.  With what, you ask?  Well, mainly, Bella's bedroom needed to be totally redecorated.  Allow me to set the scene...Our house has 3 bedrooms, though the third may or may not be an actual bedroom depending on which home assessment you look at.  It is teeny tiny and does not have a closet (that's why it's sometimes not considered a bedroom).  Anywho, this room started out as our home office then morphed into a nursery.  It's the perfect size for a crib and changing table.  I carefully picked a gender neutral brick red, navy blue and cream color scheme (because the room already had a dark blue carpet).  The room was so cozy and warm and dark.  Perfect for rocking and nursing.  When Bella came along, Joe moved into the second bedroom.  Then when Trey came along, Bella bunked in Joe's room.  As the kids got older, we felt that it would be good to have a boys room and a girls room.  Bella moved back into the nursery and Trey moved in with Joe.  Bella has clearly outgrown my Americana obsession with stars, so from top to bottom, her room has been transformed.  Most of the artsy ideas came straight from Pinterest....enjoy the pics!  They're not great pictures, but you'll get the gist.

This bed was a labor of love!  I sanded it, sawed it, painted, and built the headboard.  The drawers are huge and make up for the lack of closet space.

Here's Bella's vanity table (sorry about the pajama top!).  Isn't that headband tower cute?  A friend made that!  And the frame was super simple to make....just hot glue ribbons in an empty frame and viola!


Cute little art wall.  The stars were red, white and blue...easy change to simple white.  I painted and stenciled the plywood, and Bella wrote the words.  I love that she help create the art!  The letter "B" was made with a combo of puffy paint and Elmer's glue, then mod podeged onto canvas (seriously easy!).

I bought silver trays at my favorite antique store and painted them with chalkboard paint.  Super easy, super fun.  The dresser was a basic cherry wood from Target, painted Mickey's Shadow gray with the drawer fronts painted with chalkboard paint.

And bookshelves for good measure.  Since taking this picture, the corners have been covered to prevent bleeding head injuries and I glued ribbon to edge to spice it up a bit.  Like I said, the pictures don't really do the color justice.  The walls are painted in Princess Tiara pink, also from the Disney collection.  That's what I've been doing.  Oh yeah, and recovering the dining room chairs, hosting Thanksgiving, etc,etc.

Bonus!!!!  Remember  my friend Drew's "monkey tail" beard??  Well, he did it again!  This beard is called "Oh no!  My beard fell off!" and it's just great...

Wednesday, November 2, 2011

Trick-or-Treat Success???

Well, we made it!  Our first year going door to door on Halloween.  The kids lasted about an hour and STILL managed to collect 4 gallon bags worth of loot (not including Huggies, chips or crackers).  I'm probably most excited to say that I have not had one single piece of blessed chocolate!  Hooray for me!  There were a few things that I took note of to improve the quality of Trick-or-Treating in the future...

1) Move to a warmer climate.  It was about 40 degrees AND raining!  My face hurt from squinting against the stinging, incessant drops.  Yes, we had umbrella's, but they were not always the convenient choice.

2) When handing out pillowcases, avoid t-shirt style cases.  They tend to stretch and stretch as the candy piles up, then drag on the ground and trip the child holding it.

3) Visit the houses on ONE side of the street only, so that when we find ourselves about a mile from where we started, we can backtrack and get the houses on the opposite side of the street.  The kids zigzagged the whole way!  Eventually, Jay walked back to get the van to avoid making the kids retrace their route.

4) When holding my husbands pride and joy (a large plastic refillable cup with a handle and lid), do not set it down on someones mailbox post to help a child.  It WILL get left behind much to hubby's chagrin.  Sorry, dear!  Though, on his trek back for the van, he found the cup!

5) When buying costumes, buy sizes much larger than you think they'll need.  For one thing, I think costumes run really small...we got Joe a 8-10 Green Lantern and it was almost inappropriate it was so small.  Plus, unless we really stick to #1 on my list, we need to be able to bundle up underneath these flimsy, yet ridiculously priced, costumes.

All in all, I think I was the most negatively affected from the experience.  All the kids loved it, including Trey!  No one even fussed when they heard it was only 7:00 and Trick-or-Treat lasted until 8!!!  I think everyone was chilled to bone...and ready to dump out their bags and count their goodies!


How was your Halloween?

Monday, October 17, 2011

Funny Business

Parenting can be hard.  Days like today are long.  Trey started another round of chemo, which means a long morning/afternoon at the hospital.  Later, he threw up all over the carpet in the basement.  Bella knocked the new tube of toothpaste into the toilet at bedtime.  Joe gave me an elbow to the nose.  Yada, yada, yada...BUT!!!  There are parenting moments that make Jay and I laugh wholeheartedly.
 Yes, Bella fell asleep for several hours last night with a quilt, another blanket and her Taggy blanket shoved under her sleep shirt.  Fearing that she would wake up in a sweaty panic exactly 45 minutes after we fell into a deep sleep, we woke her to remove the blankets.  Between giggles, we asked her why she did that.  Her reply?  "I wanted to look fat."  Okay, Bella, whatever.  Parenting can be hard.  Being a parent can be hilarious.

Tuesday, September 20, 2011

A Terrible Tutorial...

Recently, I made a wreath made of book pages.  It turned out fine, but rather than trying to teach others how to create such an exquisite piece of craft that can then be posted on Pinterest, I'd like to write out my non-tutorial directions.  Do not follow these directions under any circumstance unless you have a lot of spare time and extra fingers.

1) Decide to undertake the task of making a Book Pages wreath quickly after looking at just one tutorial with vague instructions and a hand model with chipped nail polish.

2) Take a ridiculously long time to mull over the decision to actually destroy a couple of books.  Then, worry about what type of book to cut up and fret over the content on the pages in the case that an actual word might be visible in the finished product. 

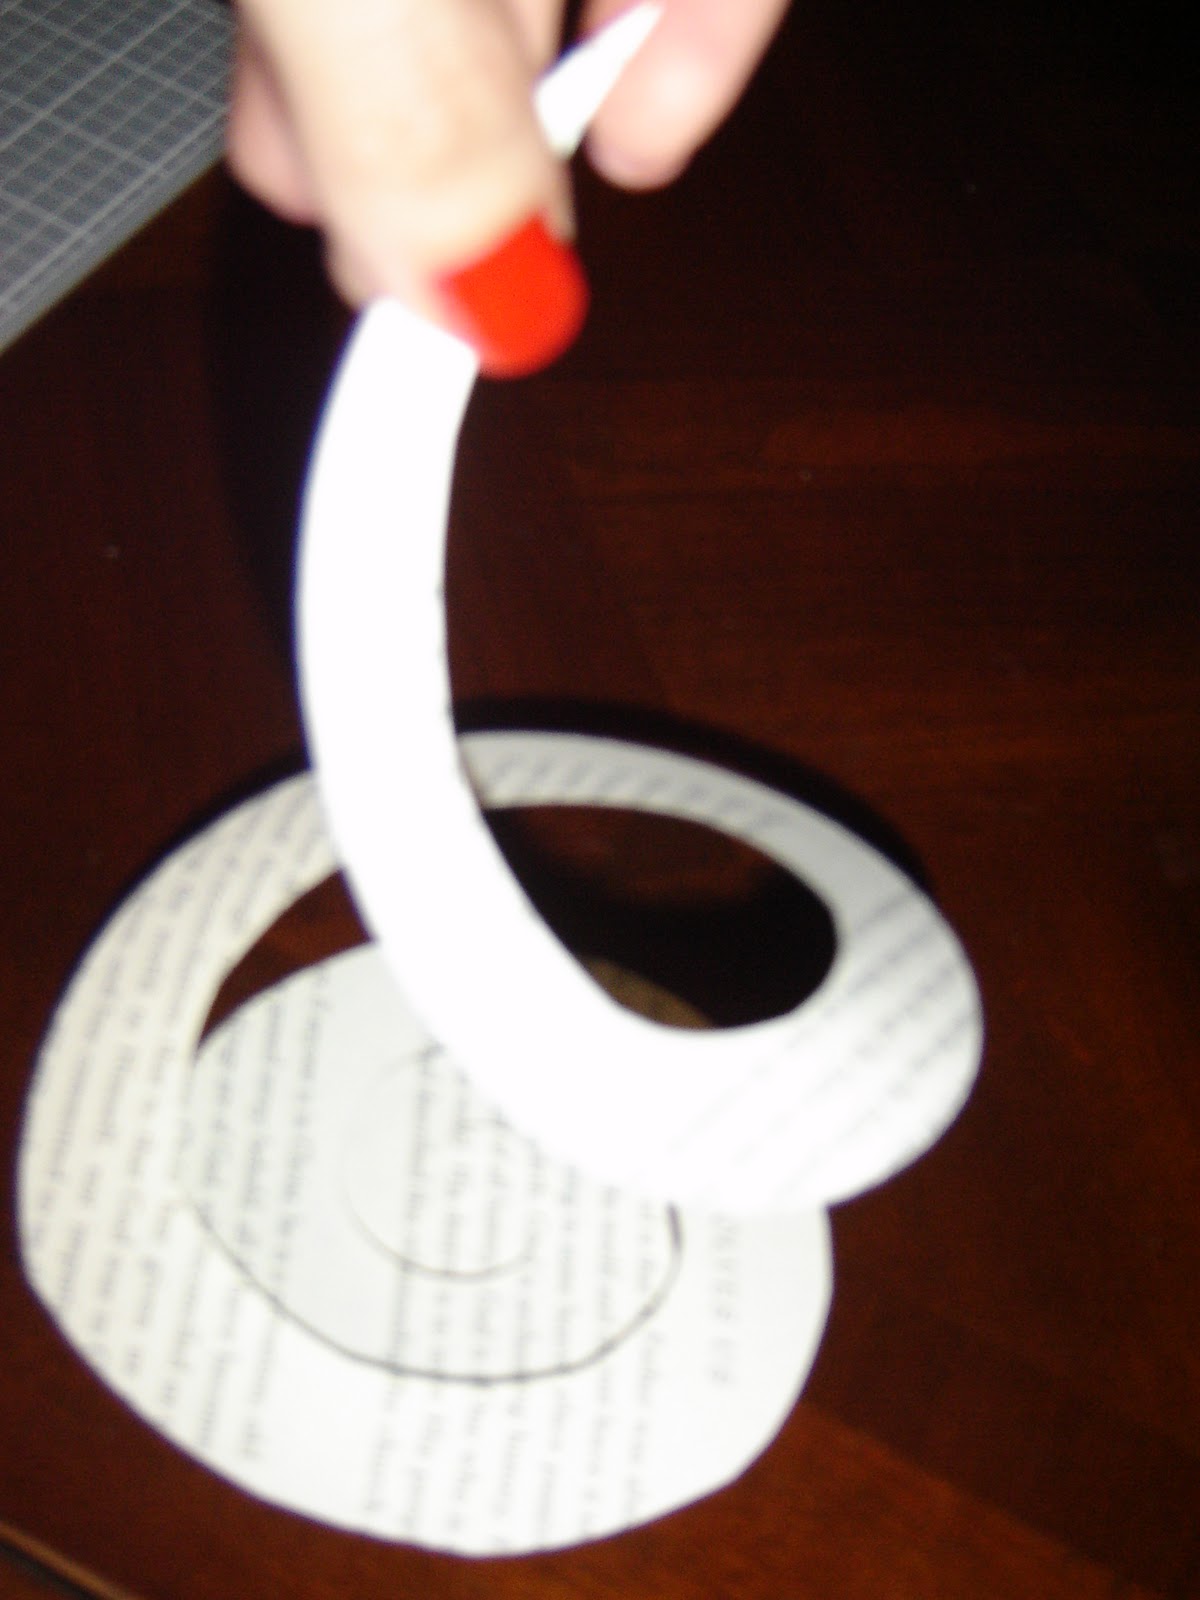
3) Cut out the pages of the well chosen books with a dangerously sharp knife, then use an out-of-date circle cutter to make circles of an arbitrary size based on the incomplete directions of the original tutorial.

4) Cut each circle into a spiral incorrectly by making the spiral wider towards the center resulting in cone shape rather than flowers.  Realize your mistake and begin cutting appropriately proportioned spirals one at a time.  Once you're almost done cutting the spirals, allow the knowledge to dawn on you that you could have been cutting several circles at a time.

5) Make sure to now look at other {better} tutorials that will make you feel like you found a wedding dress you like more than the one you already bought.

6) Create about a hundred paper flowers making sure to burn your fingers with the hot glue gun each time.  Make empty promises to yourself that you'll "Do it differently next time!" then do it the same exact way.

7) Wrap the wooden loom with book pages to hide the loom itself.  Quickly come to the realization that it's impossible to wrap a rectangular page smoothly around a curved piece of wood.  Swear a lot.

8) Rub the edges of the flowers with a brown stamp pad to give it an antique/rustic/burned look.  Drop the ink pad at least twice on yourself during the process.

9) Glue the flowers to the loom.  Now, go make about a hundred smaller paper flowers to fill in the gaps between the large flowers.  Make sure to show the unfinished wreath to as many people that will look and ask their opinion...then don't believe them when they say they like it so far. 

10) At this point, start obsessing about the BACK of the wreath that won't be seen by anyone.  But, since glue is visible and the flowers are uneven...find a way to cover it.

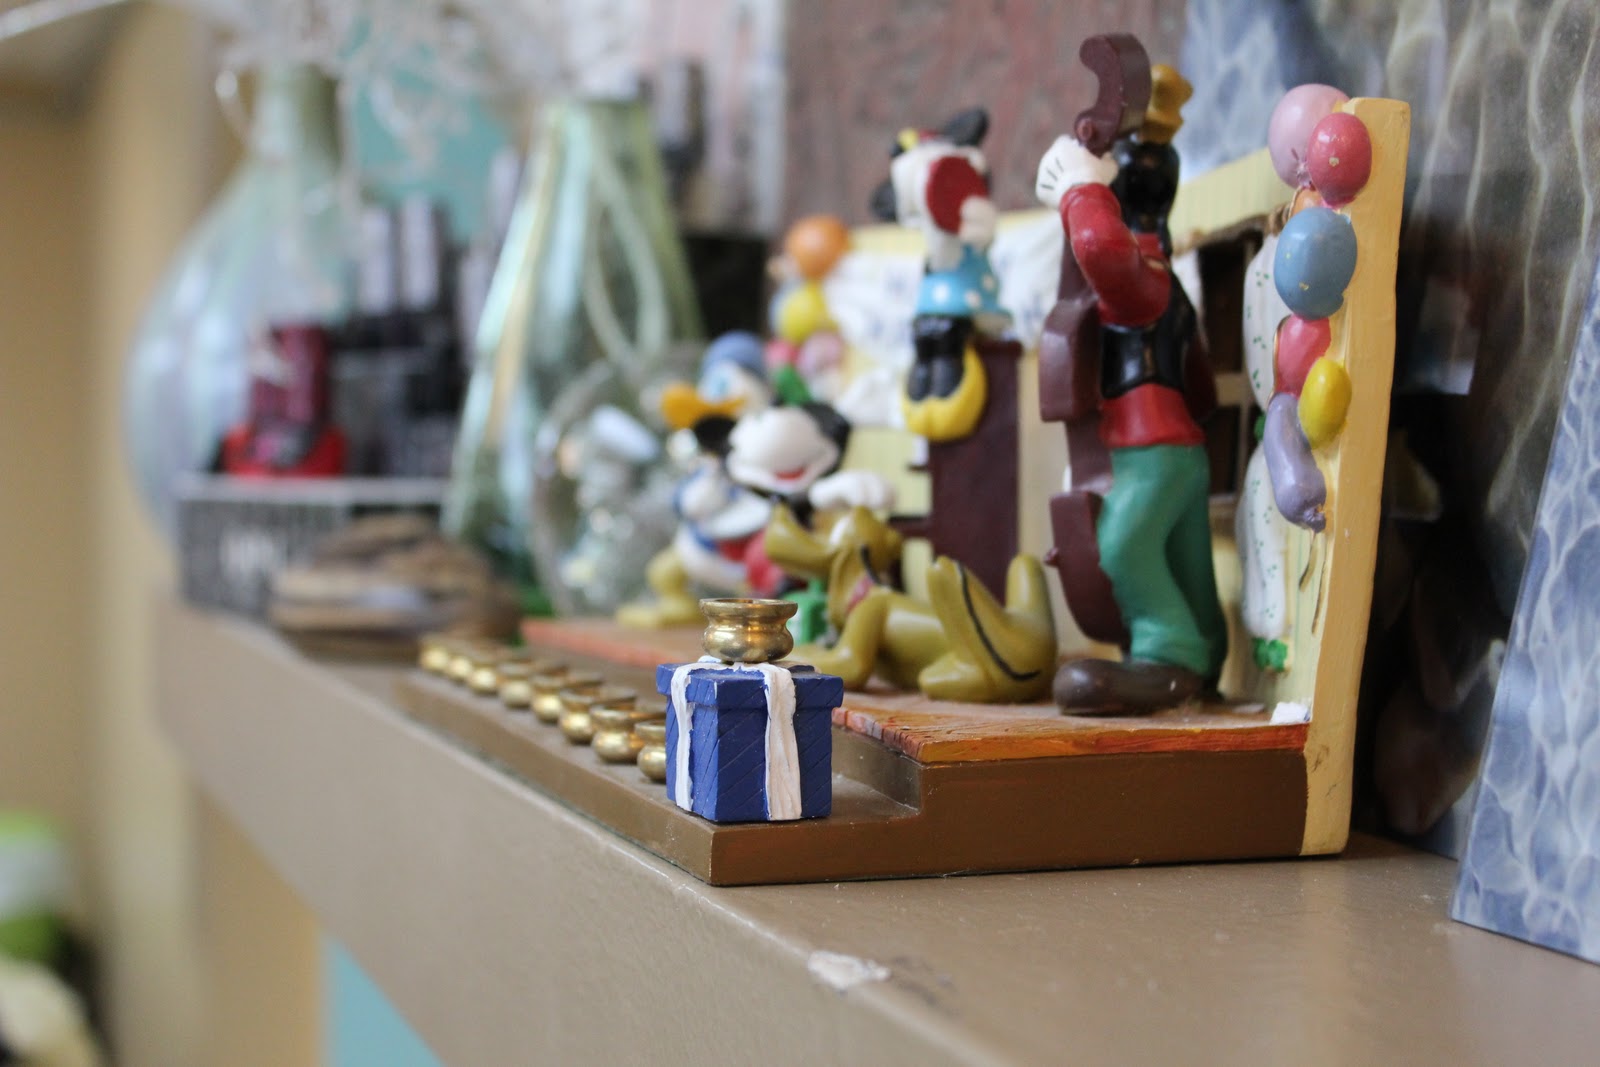
The wreath should be done at this point, so put it in a box where you can't see it until it's time to give to the recipient.  Here's my incomplete, poorly focused, photo montage.


That, my friends, is crafting.  Thank you.

Wednesday, August 31, 2011